

Last week, the weather in NYC suddenly dropped and I found myself pulling out my heavy winter coat again. I thought I had stashed it away once and for all, but it seems it isn't so. Since the winter has been extremely mild this year, I'm the first one to admit what a wimp I've become when it gets even slightly cold (the other night I was running through the streets freezing my bum off, only to learn it was in the low 40s. I could have sworn it was in the single digits!). To warm myself up I made this comforting split pea soup. Aaron was away over the weekend, and after eating at questionable establishments on the road, I thought a hearty warm soup would be just the ticket to restore his traveled-out bones.


I've always loved split pea soup. I can remember as a child whenever my family would drive to southern California (in pursuit of Disneyland, no doubt) we would stop at Pea Soup Andersen's. These may have been the only times I ate it fresh, as I don't recall ever cooking it at home unless it was out of a can. The recipe I've provided below uses smoked ham hock, which imparts delightful smoky undertones to the soup. Ham hock, or pork knuckle, is a very cheap cut of meat (the lower portion of the the hog's leg, consisting of meat, fat, gristle, connective tissues and bone), but the rewards are plenty. You can easily find it at good quality butcher shops or specialty food stores, and many grocery stores will order it for you if you call ahead. You can always substitute the ham hock with leftover diced ham, but the bone provides that much-coveted flavor.


I have a recipe from Jamie Oliver for a vegetable soup in which he places a poached egg on top. This looked so good and I knew the combination would be equally splendid with split pea soup. Not to mention make a lovely presentation. With some crusty bread and a glass of red wine, in my opinion, this hearty meal nears perfection.
Sadly, and with much regret, I must admit we only enjoyed one day of this soup. Running late and in a rush, I stupidly left my apartment with the soup sitting out all night. Yes, that's right. I walked in the kitchen the following morning (16 hours later) and was devastated to see my yellow pot filled with soup still sitting on the stovetop. NOOOOOOO!!! I couldn't believe it, I had even cleared a spot for it in the fridge! I melted, swore a lot, and emptied the contents of the pot into the trash. I felt a lot better after punching the couch a couple of times to relieve my anger (I normally wouldn't have been so mad... but I've done this before!) I reminded myself that at least this soup was made of extremely cheap ingredients. Nevertheless, I hate it when food goes to waste. No use crying over spoiled soup, I said (cursing under my breath). The only thing that made me feel better was marching back into the kitchen and start cooking.


SPLIT
PEA SOUP
Adapted
from Patricia Murray, Bon Appetit, May 1996
2 tbsp.
unsalted butter
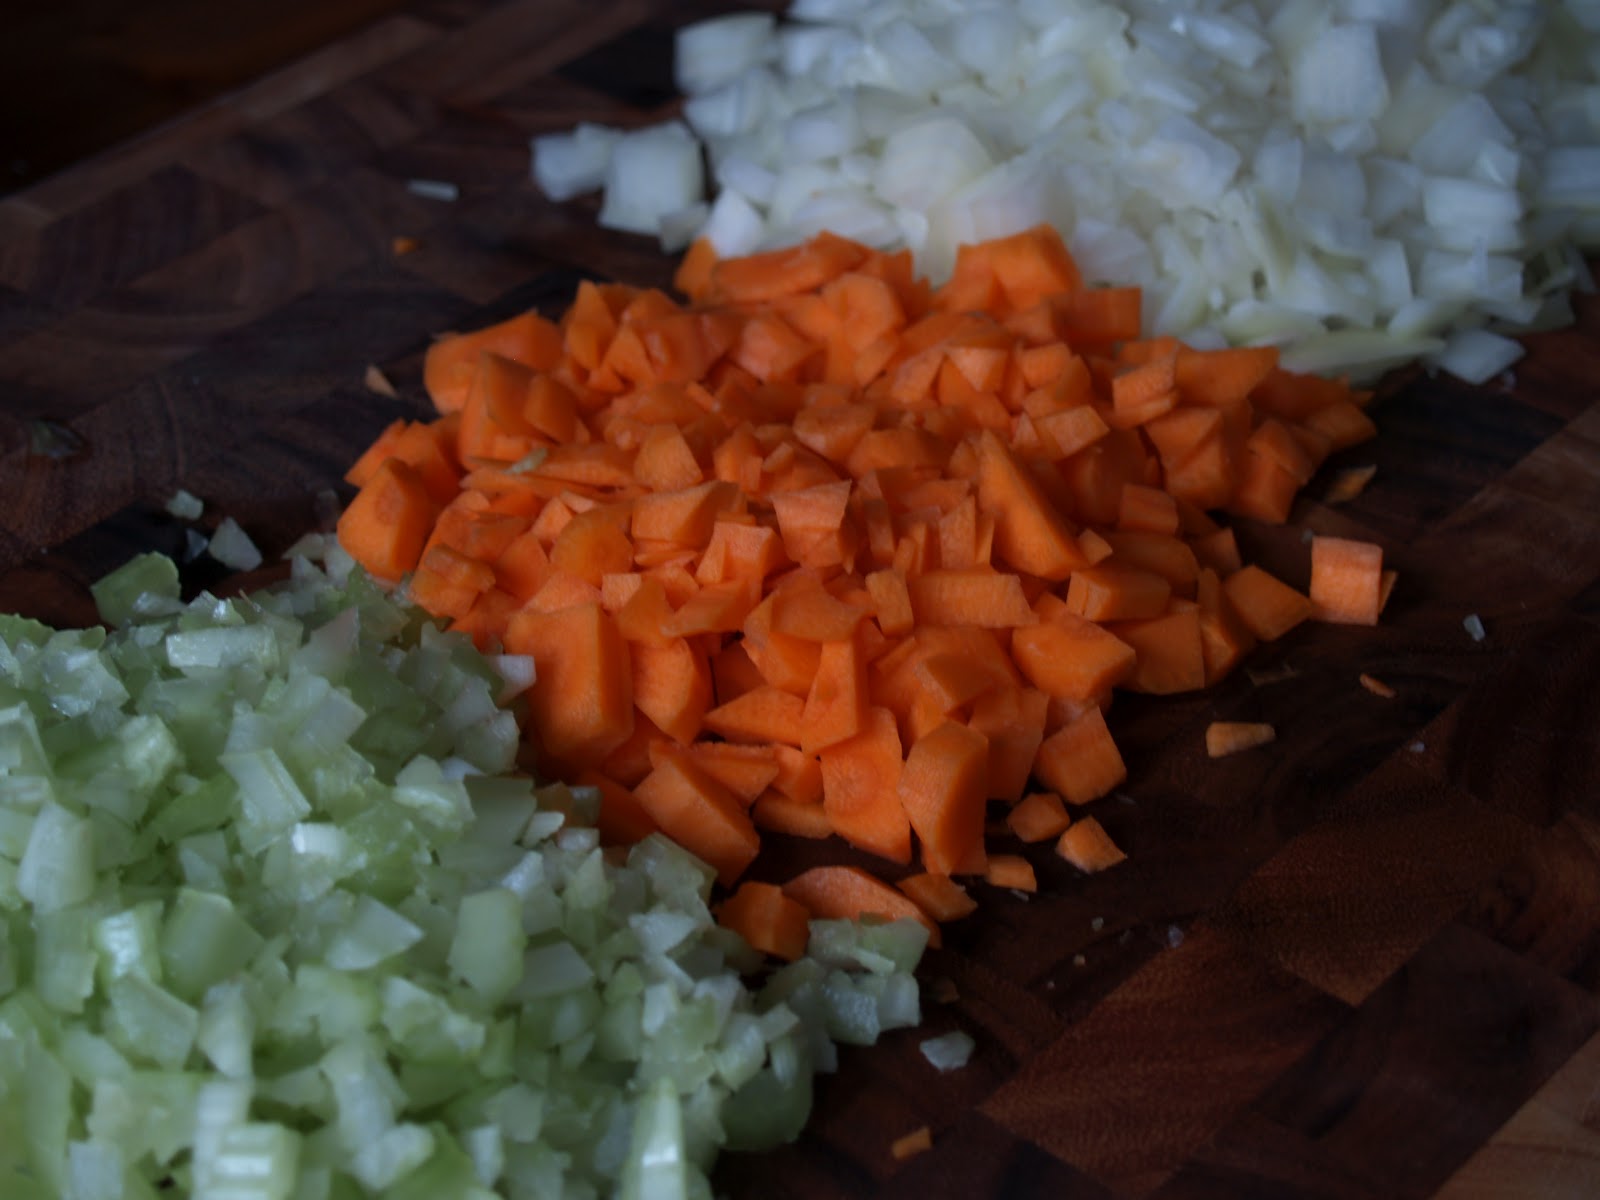
1 large
yellow onion, chopped
1 cup
chopped peeled carrots
1 cup
chopped celery
3
cloves garlic, minced
1½ lbs.
smoked ham hocks, brought to room temperature
2 tsp.
dried marjoram or oregano
2 bay
leaves
1 tsp.
whole black peppercorns
1 lb.
green split peas (about 2¼ cups)
2
quarts chicken stock or water (8 cups), or 4 cups chicken stock and 4 cups
water
Kosher
salt and pepper to taste
A small
spice bag or cheesecloth
Start
by placing the peppercorns and bay leaves in a spice bag or in a cheesecloth
bundle tied with butcher's twine, and set aside. Melt the butter over medium
heat in a large pot or Dutch oven. Add the onion, carrots, and celery, and sauté
the vegetables until they become soft, about 8 minutes. Add the garlic, stir,
and cook for a minute more. Place the ham hock in the pot, toss in the marjoram
or oregano, and add the spice bag containing the peppercorns and bay leaves.
Add the split peas and stock or water, stir the pot, and bring to a boil.
Reduce heat to medium-low and cover the pot with the lid slightly ajar. Simmer
for 2 hours, stirring every so often, and scrapping the bottom of the pot to
avoid scorching. Flip the ham hock halfway through cooking.
Turn
off the heat and transfer the ham hock to a bowl to cool slightly. Remove the
spice bag and discard. Puree the soup using a stick blender (or puree in
batches using a food processor or blender). Return the pureed soup to the pot.
Season the soup with salt and pepper to taste, and keep warm over low
heat.
Cut the
meat off the ham hock (it should pull right off the bone) and dice the meat.
Ladle the soup into bowls and sprinkle with the diced ham. Garnish each bowl
with grilled French bread brushed with olive oil and a poached egg (see notes
below), if desired.
Yield:
about 6 servings
Notes:
- If you prefer more ham in your soup, dice up some cooked thick-cut ham to add to the diced ham hock.
- This soup freezes well. After defrosting, you may need to add a bit of water to thin it.
- To poach the eggs (4 at a time), fill an 8 to 10-inch saucepan or deep skillet with 2½ to 3-inches of water. Add 1 tbsp. of white vinegar to the pan per quart of water used and 1 tsp. salt. Bring to a simmer. Break each of the eggs directly over the water, and let them fall in (sometimes I break each egg into a separate teacup before dropping them in the water to work more quickly). Maintain a simmer during the entire cooking process and do not let boil. Simmer the eggs for exactly 4 minutes and remove them using a slotted spoon, in the same order you placed them in the water (starting with the first egg). Immediately place the eggs in a bowl of ice water. The whites of the eggs should be set and the yolks should be soft when gently pushed with your finger. Cut off any stringy bits of egg white. Poach more eggs in the same manner. If making in advance, the eggs will keep well in a bowl of ice water in the refrigerator for several hours. If making the night before, drain the water and keep the eggs refrigerated in a well-sealed container. To reheat the eggs, place them in a saucepan of hot salted water for about 30 seconds to a minute to heat through. Serve immediately.


