Friday, December 30, 2011

New Pots & Pans!


This Christmas I was thrilled to receive new All-Clad stainless steel pots and pans. What a great way to start the New Year! The old set I had was nearly worn through, so I’ve been long overdue for new culinary equipment. My parents bought me my old set when I was in college. I remember while we were checking out, the sales associate pulled me aside and advised me to keep the receipt as I would most likely be returning them later. I guess he’d seen his fair share of desperate college students returning their set in exchange for a little cash. Nearly a decade later, I think I can safely say I've proved him wrong. 


I will admit, I was a bit intimidated by my new shiny pots. As I've said, I'd had my old set for many years, and no matter how horrible they were, being the sentamalist I am, I couldn’t help feeling somewhat attached. After all, they were the first pots I learned to cook with. I knew every horrid hot-spot on each individual pan. The only way to remedy my fear and intimidation of my All-Clad set was to cook with them immediately! One thing I will say, while it's a dream having my new set, my old one taught me that you don't need top of the line pots and pans to be a good cook. But it doesn't hurt.

Monday, December 26, 2011

Nonnie's Persimmon Cookies


My grandmother is an excellent baker. You wouldn't know it visiting her house on any given day, but when Christmas rolls around, you would think this little Italian mama had hired a slew of elves to help her. She never fails to make the old favorites such as fudge, rocky road, frosted sugar cookies etc., but each year she experiments with some new cookie or candy. And this is a woman who knows her candy (I once gave her a box of salt water taffy and within seconds after receiving it, she had managed to retrieve, unwrap, and devour several confections before I could even blink. It was magic.)


Each member of the family has their favorites, but for me, the crowning glory of all her sugary concoctions are her persimmon cookies. From the outside they look like humble little blobs of dough. But when you bite into one, they are moist, soft, and filled with all the familiar holiday spices I love. These cookies are my favorite because, not only are they delicious, they're unusual as well. I've never been able to find them at a single bakery or specialty food store, so for me, they can only be associated with being home at Christmas.


I'm sure this recipe came about as a way to use up the overwhelming amount of Hachiya persimmons her tree produced each year. It still stands today and is quite a site to behold. When the leaves have completely blown away in the fall, it's left with brilliantly bright orange persimmons precariously balanced on each limb. I always remember Nonnie talking about what a mess the tree made. The persimmons would fall to the ground and splatter, creating a goopy mess below. For me, the mess was always worth it. Happy Christmas!


NONNIE'S PERSIMMON COOKIES:
Slightly adapted from my grandmother, Evelyn Montaldo

Ingredients:
2 cups all-purpose flour
1 tsp. baking soda
1 tsp. baking powder
1 tsp. cinnamon
1 tsp. nutmeg
½ tsp. salt
½ cup (1 stick) unsalted butter, room temperature
1 cup granulated sugar
1 egg, room temperature
1 cup persimmon pulp
1 tsp. vanilla extract
1 cup walnuts, chopped (optional)
1 cup golden raisins

Preheat oven to 350 degrees F. Butter or line two sheet pans with parchment and set aside. In a medium sized mixing bowl combine flour, baking soda, baking powder, salt, and spices. Set aside.

In a separate large mixing bowl, using a stand or hand mixer, cream the butter and sugar. Beat in the egg, followed by the persimmon pulp and vanilla extract. Slowly beat in the dry ingredients until fully incorporated into the dough. Using a rubber spatula, gently fold in nuts and raisins.

Drop by the tablespoon onto the prepared baking sheets. Bake for 10 to 15 minutes. Let cool for a few minutes on baking pans before transferring to wire racks to cool completely. Store in well-sealed plastic containers until ready to use.

Yield: about 50 cookies

Thursday, December 22, 2011

Old Fashioned Eggnog


Nothing says Merry Christmas like homemade eggnog. It's even merrier with a little rum or bourbon, which it's traditionally made with. This eggnog will take you back in time to an era when people took pride in making their own yuletide beverage. It is so unbelievably flavorful you'll wonder where you've been all these years. There are some great store-bought nogs on the market, but for special occasions, such as your upcoming holiday party for instance, it's fun to make your own! Your guests will love it.


It was difficult to find an eggnog recipe that would taste how I wanted it to in my head. So I've pulled methods and ideas from a variety of sources to come up with my own. This recipe creates a nice frothy top, but if you prefer yours froth-free, simply leave out the egg whites. But who can resist a cold, creamy, and nutmeg infused drink spilling over with frothy goodness? I certainly cannot! 


I've provided a cooked method for preparing the eggnog for those squeamish about consuming raw egg. I've tried both methods, and each gives equally tasty results, so choose the one appropriate for you (the uncooked version is much faster to prepare).


OLD FASHIONED EGGNOG:

Ingredients:
4 large eggs, separated
½ cup sugar (plus 1 tbsp. set aside for egg whites)
2 cups whole milk
1 cup heavy whipping cream
1 tsp. ground nutmeg (freshly grated if you have it)
1/8 tsp. vanilla extract
1/4 cup spiced rum, bourbon, or brandy (optional)

Uncooked method:
In a large mixing bowl, using a mixer or by hand, beat egg yolks until they become pale yellow. Very slowly pour in the 1/2 cup sugar and continue beating until the eggs become fluffy and sugar has somewhat dissolved. Add the milk, cream, liquor, and nutmeg, and stir to combine.

In a medium-sized mixing bowl, beat the egg whites until soft peaks form. Gradually add the 1 tbsp. of sugar and continue to beat until stiff peaks form. Whisk the egg whites into the mixture and chill. Garnish each mug of eggnog with a pinch of ground or freshly grated nutmeg and serve.

Cooked method:
Place milk in a medium-sized saucepan. Heat over medium heat, stirring occasionally until hot, but not boiling.

Meanwhile, in a large mixing bowl, using a mixer or by hand, beat egg yolks until pale yellow. Very slowly pour in the 1/2 cup sugar and continue beating until the eggs become fluffy and sugar is completely dissolved. 

Temper the eggs by very slowly adding half of the hot milk mixture into the eggs, whisking constantly (being careful not to “scramble” the eggs). Pour this mixture back into the hot milk in the saucepan. Cook over medium-low heat, stirring constantly using a wooden spoon, until it's thickened and coats the back of the spoon (if using an instant-read or candy thermometer, cook until the mixture reaches 160 degrees F- do not allow to boil). Remove from heat and let cool slightly before placing in the refrigerator until completely chilled. Once cold, stir in vanilla extract, nutmeg, and liquor.

In a medium-sized mixing bowl, beat the egg whites until soft peaks form. Gradually add the 1 tbsp. of sugar and continue to beat until stiff peaks form. Whisk the egg whites into the chilled mixture and serve, or return to the refrigerator until ready to use. Garnish each mug of eggnog with a pinch of ground or freshly grated nutmeg and serve.

Yield: About 1½ quarts

Note:
  • Be sure to use good quality eggs for your eggnog, ones that come from vegetarian grain fed hens and are free of antibiotics, hormones, and other additives. I get my eggs at the farmer's market from Feather Ridge Farms. You can also use pasteurized eggs if you're worried about consuming raw egg. 
  • Feel free to leave out the liquor if you'll be serving the eggnog to the kiddies (don't worry, it still tastes great).  

Tuesday, December 20, 2011

Holiday Gift Tags


Just a brief post today. Last week after leaving work, I was thrilled to learn that the Bowne & Co. Stationers had reopened. Located in New York's South Street Seaport at 211 Water St., Bowne & Co. has its roots dating back to the mid 18th century. It's now in conjunction with the Seaport Museum and specializes in all things stationary and printing. If you're ever in the area, take a stroll through the shop and you'll find an array of old-timey delights.


Next door to Bowne & Co. is The Tinsel Trading Co., a charming little shop that will only be at the Seaport location through the holiday season (its permanent location is at 1 W. 37th St.). I happened to come across these festive gift tags, which make a lovely addition to any gift.

Saturday, December 17, 2011

Gingerbread Cookies


Gingerbread cookies are no doubt a classic around the holidays. Who can resist shamefully biting off each limb of the helpless gingerbread man, before finishing him off with one munch of his head? What a way to go!


I love these old fashioned gingerbread cookies because they're not hard and crunchy. The secret is rolling the dough no thinner than 1/4 inch. This ensures that you'll get beautiful gingerbread that is soft and chewy (if you prefer them crunchy- roll them thinner). This recipe is pleasantly gingery without being overwhelmingly hot. The dough is smooth and easy to work with. You can cut the cookies into a variety of shapes and sizes and are just as fun to decorate as they are to eat. I love decorating them with royal icing, but if you're looking to save time, simply dust them with confectioner's sugar. 


The dough freezes exceptionally well, making it easy to have a nice quantity on hand to make cookies at a moments notice. You never know when unexpected guests are going to pop in, especially around the holidays. I often double this recipe and bake half in mid December and the rest on Christmas Eve.


Guess which one Aaron decorated?

GINGERBREAD COOKIES:
Adapted from Sylvia Sebastiani, Mangiamo, Let's Eat!

Ingredients:
1/2 cup (1 stick) unsalted butter, softened 
¾ cup dark brown sugar
1 cup plus 2 tbsp. molasses
5 cups all-purpose flour
¾ tsp. ground allspice
1 tsp. ground cinnamon
1 tbsp. ground ginger (see notes below)
¾ tsp. salt
½ cup cold water (set aside 2 tbsp.) 
1½ tsp. baking soda

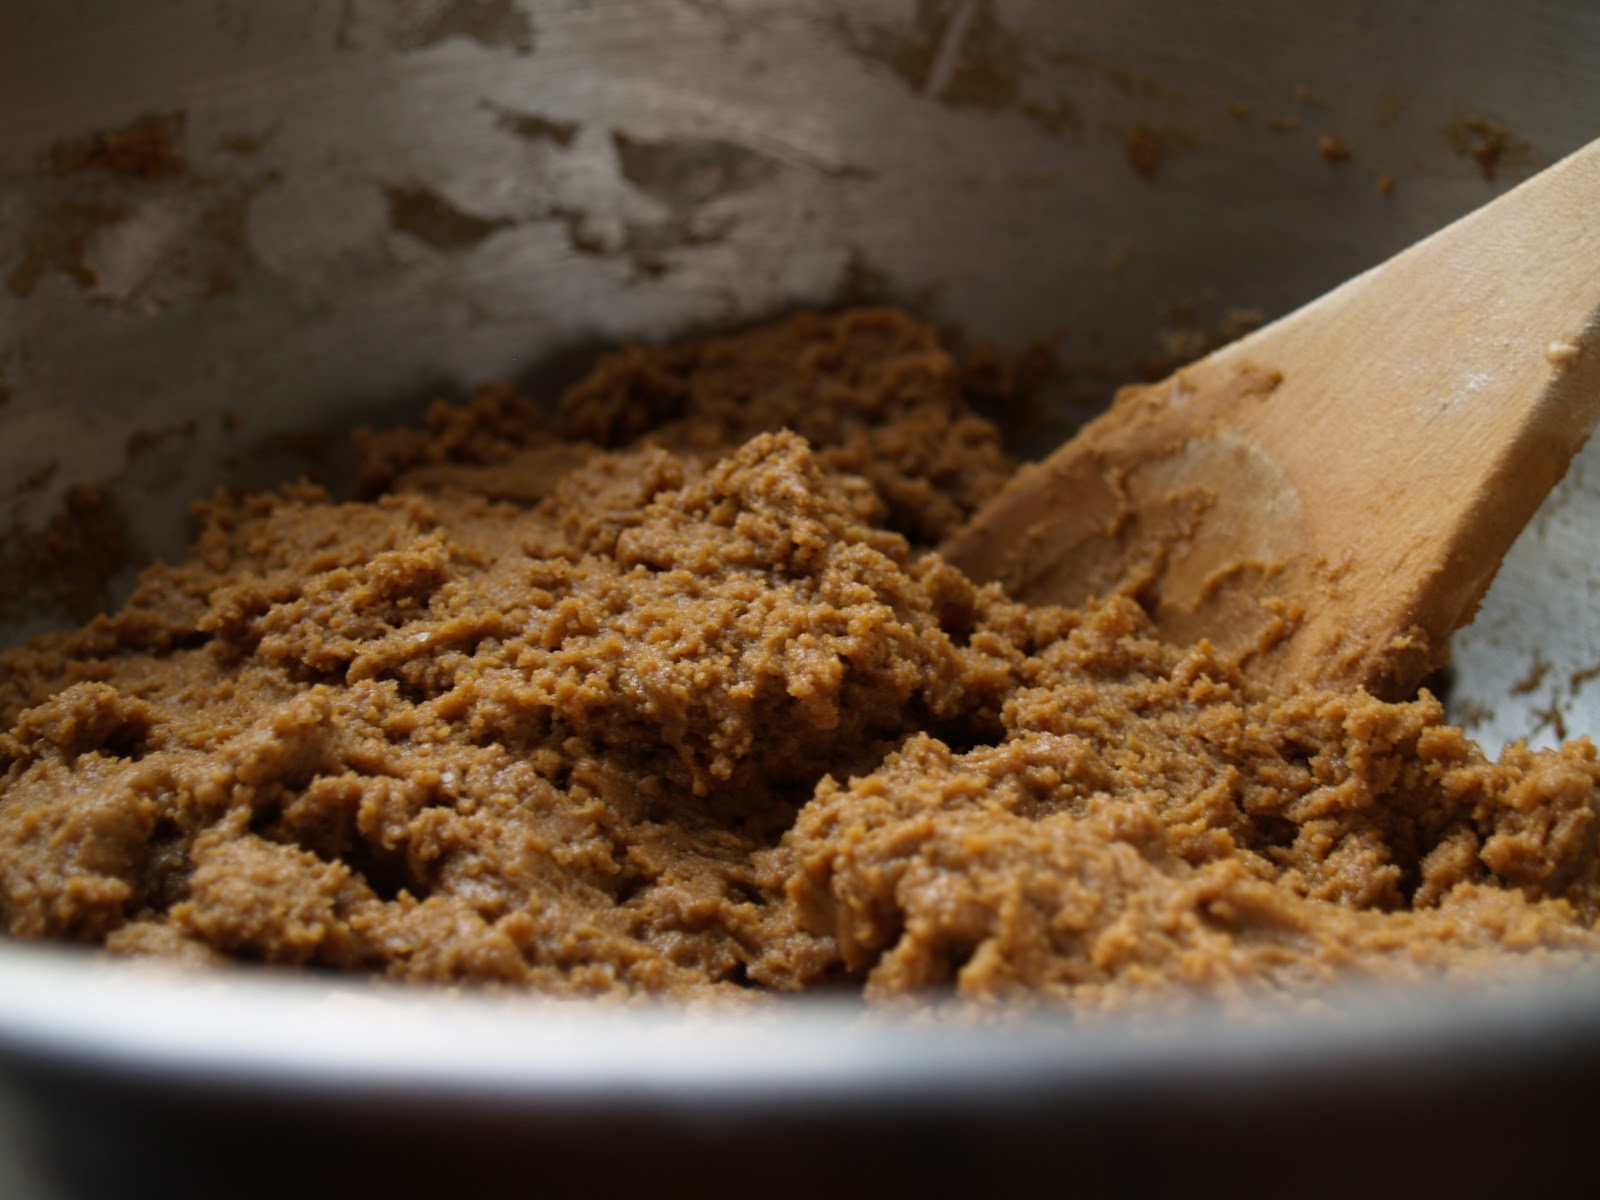
In a large bowl, using a stand or handheld mixer, cream butter and sugar together until light and fluffy, about 2 minutes. Stir in molasses. In a small bowl, dissolve baking soda in the 2 tbsp. of cold water and set aside.

Sift flour with spices and add to creamed mixture alternatively with the remaining water, stirring well after each addition. Stir the dissolved baking soda into the dough and mix well. Refrigerate 30 minutes to an hour before rolling out on a lightly floured surface to ¼ inch and cutting into desired shapes.

Place cookies on parchment lined sheet pans and bake 10 to 15 minutes in a 325 degree F oven. Let cool completely on wire racks before decorating with royal icing. Allow icing to dry and store in well sealed containers. 

Yield: about 30 cookies

ROYAL ICING:
Courtesy, Martha Stewart Living, March 1997

Ingredients:
2 large egg whites, or more to thin icing
4 cups sifted confectioner's sugar, or more to thicken icing
1 lemon, juiced (if you don't prefer lemon, use 1 tsp. vanilla extract instead)
Food coloring, as desired

In a medium sized bowl, beat the egg whites until stiff but not dry. Gradually add sugar and lemon juice (or vanilla extract) and mix on low speed until sugar is incorporated and mixture is shiny. Increase speed to high and beat until mixture forms stiff peaks, about 5 to 7 minutes. If icing is too thick, add more egg whites; if it's too thin, add more sugar. Add food coloring if desired. Transfer to a pastry bag or a zip-top bag (with one end snipped off) and pipe onto cookies. The icing may be stored in an airtight container in the refrigerator for up to 3 days.

Yield: about 2½ cups

Notes:
  • If you're opposed to using raw egg, substitute 5 tbsp. meringue powder and 1/3 cup water for the egg whites. Or use pasteurized eggs.
  • If you like your gingerbread cookies extremely gingery, add another teaspoon ground ginger. Taste the dough before you begin baking to see that it's to your liking. 


    Tuesday, December 13, 2011

    O Christmas Tree!


    My grandmother has the most spectacular Christmas tree. Those department store Christmas trees don't even come close. Nonnie's tree is a towering Noble Fir flocked with "white snow" and decorated with ornaments collected throughout her life. What is a flocked tree you ask? On the west coast, in the 1940s and 50s, it became popular to flock Christmas trees with fake snow. Nonnie used to do this herself in the backyard with a do-it-yourself flocking kit and a vacuum cleaner (it sounds dangerous and potentially toxic and I'm sure it was). She's held onto the flocking tradition to this day, only now she gets it professionally done. Since she's been buying from the same tree farm since time immemorial, they kindly deliver her tree every year free of charge (being 4'8" and 90 years old doesn't hurt either).


    It wasn't until I was older that I learned what an impact her tree had on the community. At night, the tree casts it light on the now busy street in front of her house, a beacon for all those commuting from their holiday shopping. Every once in a while, someone would take the time to pull over, come to her door, and sing their praises. Many would ask to come inside and see the tree in person. Nonnie even received fan mail from admirers expressing what joy her tree had brought them over the years. As a child, and still today, I look forward to Nonnie's tree with eager anticipation. I used to stand in front of it day dreaming at the hundreds of glittering ornaments.


    In recent years, Aaron and I have helped her dismantle the tree after Christmas, which requires removing these hundreds of said ornaments and cutting the tree so it fits out the front door. We learned, much to our surprise, that Nonnie doesn't individually wrap and care for each of her ornaments as you might expect, rather, she throws them in boxes. And I mean throws them- I guess after doing it for 80 plus years the charm has worn off. However, there are a few ornaments from her childhood that she takes especially good care of. Today, they are brittle and faded, but have remained with her all these years.


    I've shared some pictures of ornaments I've collected (many reminiscent of those on Nonnie's tree) and some that she's given me herself. You can find ornaments like these at vintage or antique stores, especially during the holiday season or from your own grandmother's tree. They make fun and unusual gifts!