Last year, I attempted making a Peach Lavender Jam but got a little carried away. By that I mean I incorporated the actual lavender flowers into the jam itself. After cooking and processing, the lavender completely overwhelmed the peaches especially when you bit into a flower. In a word: soap. Lavender always runs the risk of tasting soapy if too much is used. So, I guess I made "soapy peach lavender jam" last year, which is not a very enticing jam label. This year, however, I learned my lesson and made a "tea" using the lavender flowers instead of the actual flowers themselves. The result is a delightfully peachy jam with a subtle hint of lavender.


This is the first jam recipe I've posted using pectin. Pectin is a naturally occurring substance (a polyscaccaride) commonly extracted from citrus fruits and used as a jelling agent in jams, jellies, and marmalades. I usually like to make jam the old fashioned way, without pectin, which requires a longer cooking time to get the jam to jell properly (220 degrees F). For some jams, however, I like to preserve their "fresh" fruit flavor (like with peaches) by adding pectin, which significantly reduces the cooking time of the jam.


There are many types of pectin on the market, in both powdered and liquid forms, such as Sure Jell, Fruit Jell, and Certo, but I've really fallen in love with Pamona's Pectin. As stated on their website, "Pamona's Pectin is a sugar-free, preservative-free, low-methoxyl citrus pectin that is activated by calcium." Since this pectin doesn't require sugar to jell, you the cook get to decide how much sugar (if any) you'd like to use. In fact, you can use honey, maple syrup, or agave (plus many more sweeteners) in place of sugar if that's your fancy. I've found it to be an extremely versatile product allowing me lots of freedom as a cook. They even have a "Jamline," a jam hotline to call incase you need jamming advise or questions about their product or a particular recipe. Yes, I've called it, and chatted with a sweet old jamming-lady for awhile. Wow.


PEACH
LAVENDER JAM
Adapted
from Ellie Topp & Margaret Howard, The Complete Book of Small Batch Preserving
and the Pamona's Universal Pectin pamphlet
Ingredients:
2 tbsp.
dried food-grade lavender flowers (see notes below)
½ cup
boiling water
4 cups
(about 2½ lb.) peeled, pitted, and finely chopped peaches (see notes below)
¼ cup
lemon juice
4 to 5
cups sugar (or other sweetener of your choice, refer to Pamona's pamphlet in
box)
1 box
Pamona's Universal Pectin (see notes below)
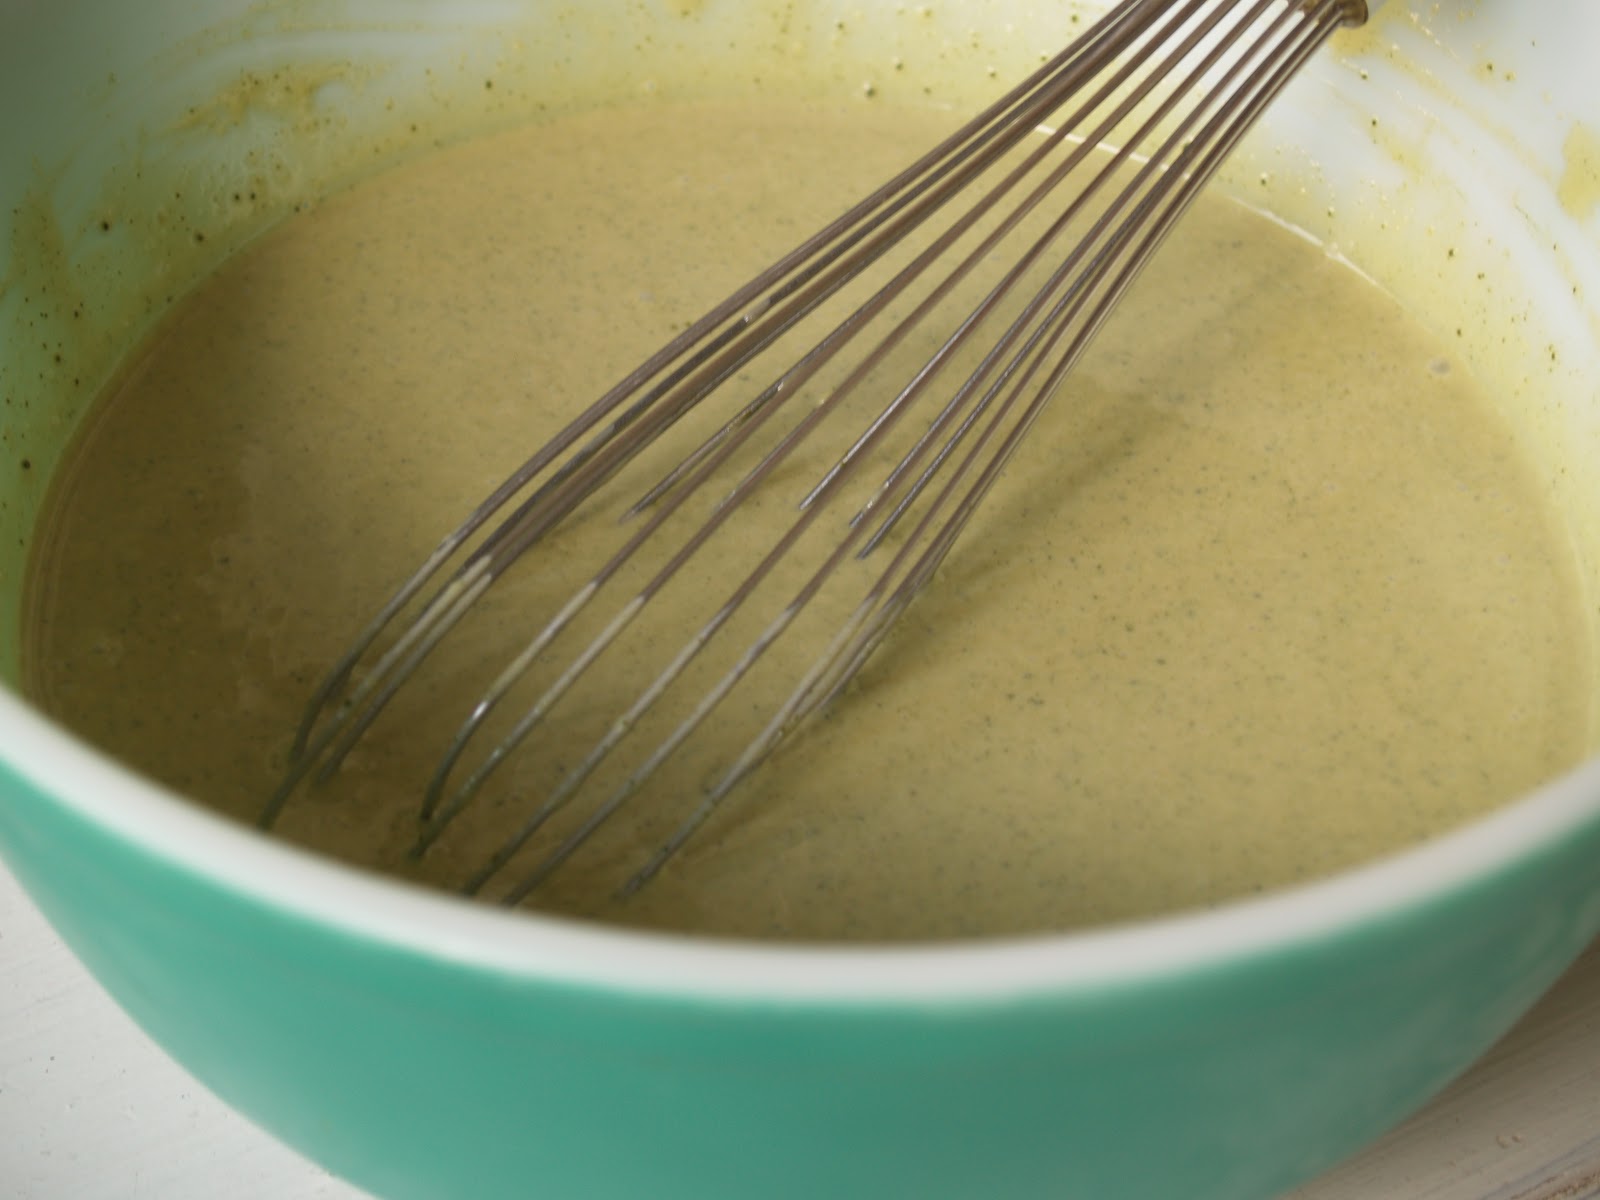
Place
the lavender flowers in a small bowl and pour boiling water over them. Let
steep for at least 20 minutes. Strain the lavender "tea" through a
sieve into a small bowl, pressing out as much color and moisture as possible.
Discard flowers.
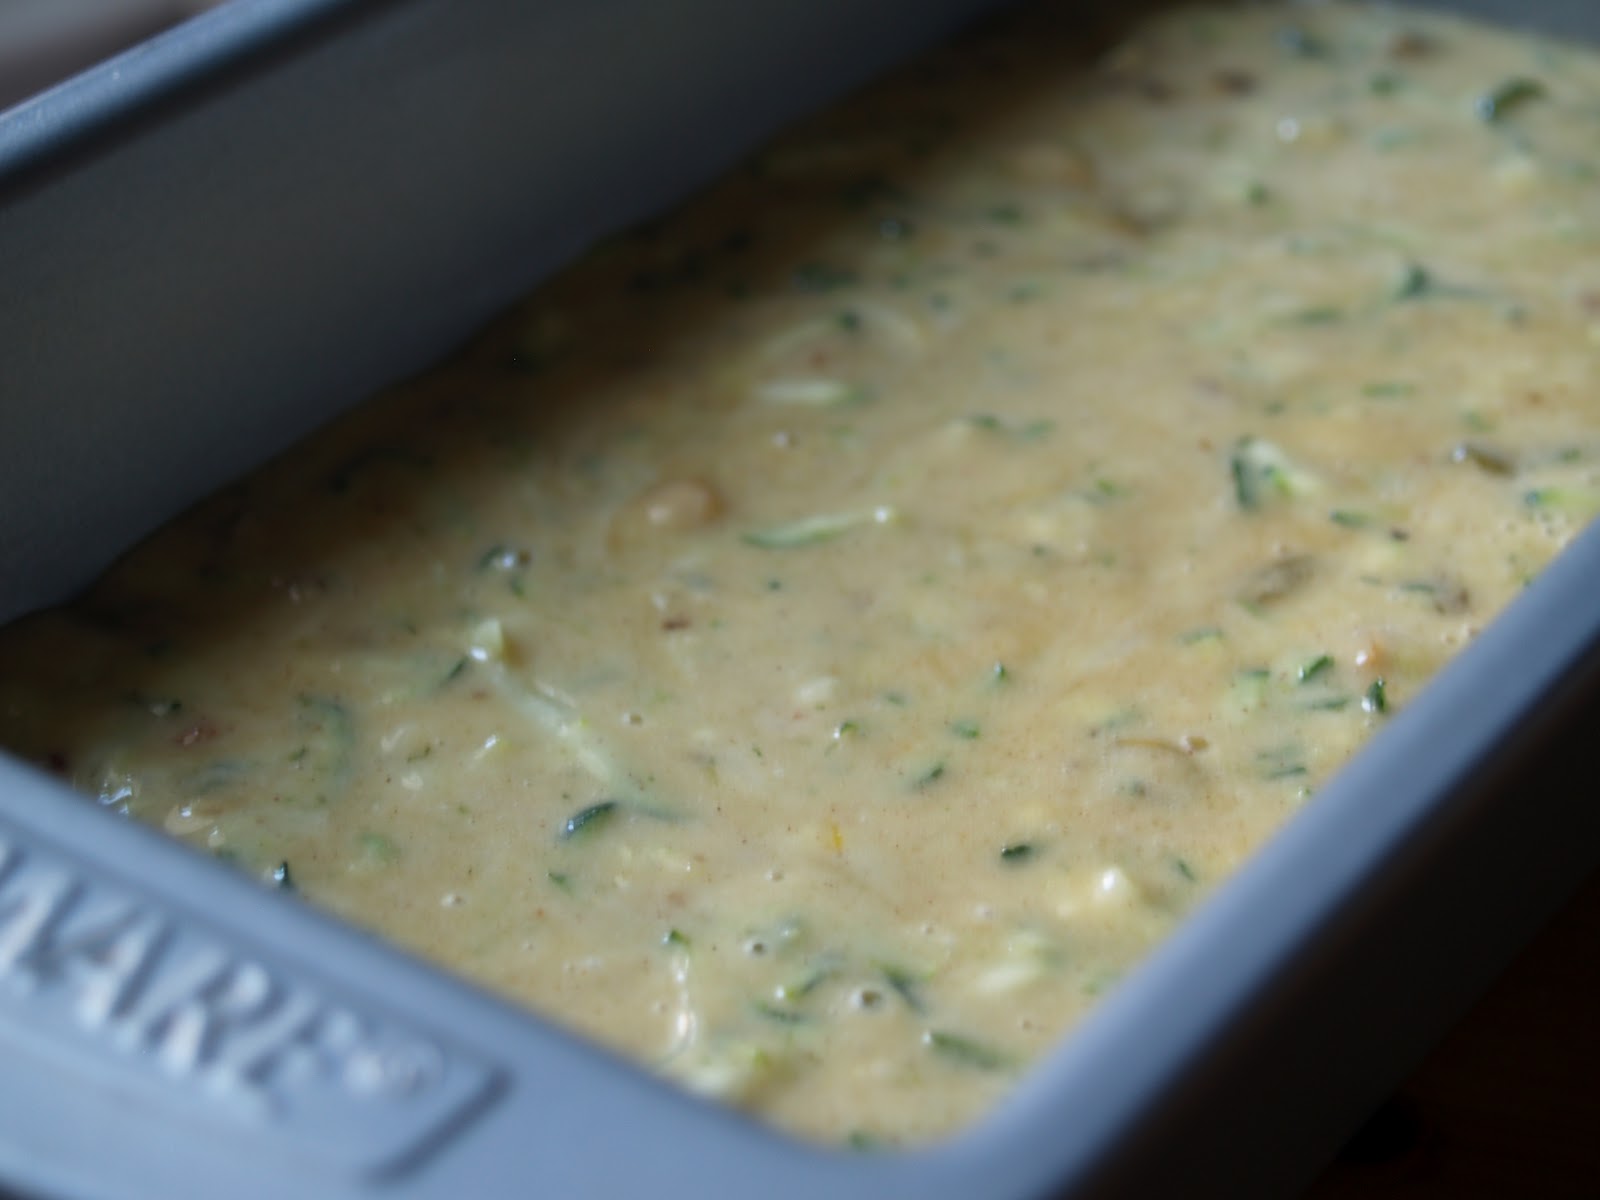
In a
large pot or Dutch-oven, combine the peaches, lavender tea, lemon juice and 4
tsp. calcium water. Stir well to combine. Bring mixture to a full boil.
Meanwhile,
thoroughly mix 3 tsp. of pectin powder with 2 cups of the sugar in a bowl. Once the jam
is boiling, add the sugar and pectin mixture to the pot and stir vigorously for
1 to 2 minutes (to dissolve pectin). Add the remaining 2 to 3 cups sugar and
stir to incorporate. Return the jam to a boil and remove from
heat.
Notes:
- You can find food-grade dried lavender at specialty herb shops, farmer's markets, or at well-stocked grocery stores. Find it online here.
- To peel, using a paring knife, slice a large "x" on the bottom of each peach. Place peaches in a pot of boiling water for 30 to 45 seconds. Remove using a slotted spoon or spider and place in an ice bath. Once the peaches are cool enough to handle, peel off skins, slice in half, and remove pits.
- Each box of Pamona's Pectin will include a packet of pectin powder and calcium powder. This recipe calls for 4 tsp. of calcium water and 3 tsp. of pectin powder. To make the calcium water, combine 1/2 tsp. calcium powder with 1/2 cup of water in a small jar with a lid and shake to combine (refer to Pamona's Pectin pamphlet for more information).
- You can find Pamona's Pectin at well-stocked grocery stores such as Whole Foods. You can also purchase it on the world wide web here.
- If you prefer to make this jam using liquid fruit pectin, bring the peaches, lavender tea, lemon juice, and 4 to 5 cups sugar to a full boil. Boil hard for 2 minutes, stirring constantly. Remove the pot from heat and stir in liquid pectin. Proceed with the recipe as written.