Tuesday, May 29, 2012

Ice Cream Challenge #2: Real Mint Chip


Here's my second installment of the ice cream challenge I've set for myself (well, actually that Aaron set for me, mostly for his benefit). This recipe comes from the wonderful David Lebovitz, former pastry chef at Chez Panisse in Berkely, California. If you haven't checked out his blog, I highly suggest that you do. He shares a wealth of knowledge from working many years in professional kitchens. I absolutely love his recipe for real mint chip ice cream. If the only thing you associate with mint ice cream is the bright green artificially-colored store-bought stuff, then this recipe will change your distorted view forever.


This ice cream is made by steeping fresh mint leaves in a mixture of hot milk and cream. This allows the mint to infuse itself in the creamy mixture and produce a natural pastel-green color in the final product. This ice cream is extremely delicate and slightly herbaceous. Nothing you buy in a store will ever come close. 


I always liked mint ice cream as a kid, but (call me crazy) was always turned off by the chunks of chocolate. Maybe the quality of the chocolate wasn't that good, but I always felt it either overpowered or got in the way of the creamy minty base. Lebovits' technique of swirling the melted chocolate in layers over the ice cream, and then breaking it up with a spoon, creates perfect little bits of chocolate that easily melt in your mouth and don't distract from the delicate minty flavor. Perfection in every bite, not to mention delightfully refreshing. 


REAL MINT CHIP ICE CREAM

Recipe courtesy David Lebovitz, davidlebovitz.com, as adapted from The Perfect Scoop

Ingredients:
1 cup whole milk
2 cups heavy cream
¾ cups sugar 
Pinch of sea salt
2 cups packed fresh mint leaves (about 2 bunches of mint)
5 large egg yolks
4 to 5 oz. semisweet chocolate, chopped

In a medium sized saucepan, over medium heat, warm the milk, 1 cup of heavy cream, sugar, salt and mint. Once the mixture is hot and steaming, remove from heat and cover. Let stand at room temperature for 1 hour to infuse the mint flavor.

Remove the mint by pouring the mixture through a strainer, pressing the mint with a spatula or spoon to extract as much mint flavor and color as possible (you can also use your hand to squeeze the mint). Discard the mint.

Over low heat, re-warm the infused milk. In a separate bowl, whisk together the egg yolks, then very slowly pour 1 cup of the warm mint mixture into the yolks, whisking constantly. Scrape the warmed yolks back into the saucepan. 

Cook the custard over medium-low heat, stirring occasionally, until the mixture thickens and coats the back of a spoon. If using a thermometer, it should read about 170 degrees F. 

Pour the remaining 1 cup of heavy cream into a large mixing bowl, and place a strainer over the top. Pour the custard through the strainer into the cream, and then stir the mixture over an ice bath until cool. Place a piece of plastic wrap directly on the surface of the custard and place in the refrigerator for several hours or overnight. Freeze in an ice cream maker according to the manufacturer's instructions. 

While the ice cream is freezing, melt the chocolate in a small heatproof bowl set over a pot of simmering water. Place 2 storage containers in the freezer. When the ice cream has finished freezing, drizzle some of the chocolate all over the inside of the container (you can use a spoon, or for more control, transfer the melted chocolate to a plastic squeeze bottle or pastry bag). Add a layer of ice cream to the container, drizzle with more chocolate, and then quickly stir it in to break up the chocolate. Continue layering the ice cream with more chocolate and stirring as you go (use as much or as little chocolate as you'd like). When finished, cover and freeze the ice cream until firm.

Yield: About 1¼ qts.

Friday, May 25, 2012

Radish & Avocado Salad with Cilantro-Lime Vinaigrette


This past weekend, the farmer's market had some lovely looking radishes that I couldn't resist buying. I find most people think of radishes as being a tasteless, boring vegetable, used more as a garnish, and scraped to the side of their plate. I tend to disagree. I decided I would counter this attitude and feature them as one of the main ingredients in this quick and easy, light and refreshing salad. When sliced thin in salads, radishes add a nice bit of crunch and absorb whatever dressing you combine them with, making every bite delightfully flavorful. 


We were having tacos for dinner, so I thought a cilantro-lime vinaigrette would be a perfect combination with radishes and avocado. If you have a mandolin, slicing the radishes is lightning fast. Crumbled queso fresco or Cotija cheese (a hard cow's milk cheese) are fine accompaniments to this salad, and give it that added Mexican flare. A perfect starter to a spring dinner or main course lunch. We enjoyed this salad so much, I made it again the next day for a picnic in the park! 


RADISH & AVOCADO SALAD WITH CILANTRO-LIME VINAIGRETTE

Ingredients:

For the dressing:
1 tbsp. freshly chopped cilantro
1/3 cup freshly squeezed lime juice (about 2 limes)
Zest from 1 lime
2 tsp. apple cider vinegar
1 clove garlic, minced
1/2 cup olive oil
Salt and pepper to taste

For the salad:
5 oz. arugula, well washed
1 bunch radishes (about 10 to 12), thinly sliced
2 avocados, cut into 1-inch cubes
Half a red onion, thinly sliced
3 oz. crumbled Cotija or queso fresco

To make the dressing, combine the cilantro, lime juice, lime zest, apple cider vinegar, and garlic in a glass jar (with a tight-fitting lid) large enough to hold the dressing. Pour in the olive oil, place the lid on the jar, and shake vigorously to mix the dressing. Add salt and pepper to taste and shake again to incorporate. Taste to adjust seasonings and refrigerate until ready to use. 

In a large salad bowl, combine the arugula, radishes, avocado, onion, and crumbled cheese. Give the dressing a good shake and pour (to taste) over the salad. Toss to incorporate. Garnish with a sprinkling of sea salt and freshly ground pepper.  

Yield: 4 servings

Notes:
  • This salad is also great with the addition of grilled shrimp or chicken.

Monday, May 21, 2012

Simple Rhubarb Bellini


I find Rhubarb is such an overlooked and underappreciated spring vegetable. It's too bad because it lends itself to a variety of culinary uses. Most famously it is paired with strawberries in pie, jams, and crumbles, but it can also be a wonderful addition to seasonal drinks and cocktails.  This recipe comes from Jamie Oliver's cookbook, Jamie at Home, and is originally from the Acorn House restaurant in London. Jamie states in his book that this drink reflects the rhubarb season brilliantly, and I would have to agree.


It's a rather odd vegetable, the rhubarb, seeing as its leaves are toxic. Luckily someone tempted fate and figured out that their stalks are edible! Raw, they are extremely crisp and tart, but when cooked with sugar they become sweet and pleasant. It's fun to take advantage of seasonal "oddities" such as rhubarb, as it makes for special eating (and drinking) that can only come but once a year. The puree only takes a few minutes to make and can be done days in advance. This drink makes for a superb spring inspired drink at your upcoming cocktail party or brunch. 


SIMPLE RHUBARB BELLINI

Recipe courtesy Jamie Oliver, Jamie at Home

Ingredients:
¾ lb. rhubarb (about 3 stalks), finely sliced (leaves trimmed off and discarded)
¼ cup sugar
1 to 2 bottles of sparkling wine, Prosecco, or Champagne 

Combine the rhubarb, sugar, and a couple of tablespoons of water in a small saucepan. Cover and bring to a boil, then reduce heat and let simmer for a couple of minutes. Remove the lid and let simmer for 5 minutes more, stirring occasionally. 

Once the rhubarb has reached a thick compote consistency, transfer it to a blender and puree until smooth (or use an immersion blender). Set aside to cool. Give the mixture a good stir and divide the puree between 6 glasses. Pour the sparkling wine over the top, stirring with a small spoon or swizzle stick as you pour. 

Yield: 6 drinks 

Friday, May 18, 2012

Lavender Earl Grey Scones


Here's another scone recipe from the famed sconery (no that's not a real word) in NYC, Alice's Tea Cup. A few months back I promised to share another of their delicious recipes (especially for those far from the east coast). So here it is folks: lavender earl grey scones. I've actually never tried this particular variety in the restaurant before, so I was eager to make them. I thought they'd make a lovely addition to a springtime brunch, and of course, earl grey tea. 


I find many people are wary of using lavender in their cooking, for fear that it will taste like soap or their beloved grandmother's perfume. While we all love soap and perfume, they don't necessarily belong in food. Lavender is an extremely strong herb and a little goes a long way. When used in the appropriate proportions however, it adds a wonderfully light and floral quality to whatever you include it in. 


These scones give you just a hint of lavender combined with subtle undertones of earl grey tea. They seem a bit classy even though they're quick and easy to make (making them perfect for a breakfast or brunch party). They're delicate and just down right good with a proper cup of tea. 


LAVENDER EARL GREY SCONES
Recipe courtesy Haley & Lauren Fox, Alice's Tea Cup Cookbook

Ingredients:
2 heaping tsp. Lavender Earl Grey tea leaves (see notes below)
3 cups all-purpose flour
1/3 cup sugar
½ tsp. baking soda
2½ tsp. baking powder 
¾ tsp. kosher salt
1½ sticks (3/4 cup) unsalted butter, cut into ½-inch pieces
1¼ cups buttermilk, shaken
½ tsp. vanilla extract
¼ cup heavy cream (for brushing)
¼ cup sugar (for sprinkling)

Preheat the oven to 425 degrees F. Line a sheet pan with a piece of parchment paper and set aside. 

Begin by steeping 1 heaping tsp. of the Lavender Earl Grey tea leaves in ¼ cup boiling water for 3 to 5 minutes. Strain and reserve the tea.

In a well-cleaned coffee or spice grinder, grind the remaining teaspoon of tea leaves to a very fine powder. In a large mixing bowl, combine the powdered tea leaves, flour, sugar, baking soda, baking powder, and salt. Whisk to combine.

With clean hands, or using a pastry cutter, work the butter into the dry mixture until it is fully incorporated and has the consistency of fine breadcrumbs.

Next, make a well in the center of the dry ingredients and pour in the buttermilk, vanilla extract, and 1 tbsp. of the brewed Lavender Earl Grey tea. Using your hands, combine the ingredients until the dry mixture is wet (do not knead!). 

Turn the mixture onto a clean, lightly floured surface, and using your hands, gather the dough together. Gently pat the dough to create a rectangle about 1½ inches thick. Using a dough cutter or large knife, cut the scones into wedges measuring about 3½ by 4 inches, and carefully place them on the prepared pan.

Liberally brush the tops of each scone with heavy cream and sprinkle with sugar. Bake the scones for 12 to 15 minutes, or until lightly browned. 

Yield: 8 to 10 scones 

Notes:
  • You can find Lavender Earl Grey tea at specialty tea shops or online.

Monday, May 14, 2012

Spring Risotto


What better way to celebrate spring than with a medley of artichokes, asparagus, and peas?  Risotto is one of my favorite things to cook because it's extremely versatile and lends itself to an array of ingredients. No matter the season, there's nothing you can't add to risotto even leftover meats and vegetables. 


I've been making a variation of this spring inspired risotto for a number of years. This time, I've added artichokes. I've been a little obsessed with artichokes after roasting them with garlic and dipping them in a heavenly aioli earlier this week. Artichokes take a bit more effort to prepare compared to your average vegetable, but they're definitely worth it; you can never go wrong with creamy rice and delicate pieces of chopped artichoke hearts. To me, this dish is a splendid harbinger of spring, an anticipatory taste of summer's bounty.


Often times people are turned off by cooking risotto because they feel they have to be glued to the pot. It's true, making risotto takes some love and care from the cook, but I actually enjoy stirring the pot, sipping a glass of wine, and leaving my mind free to wander. It's an alternative form of meditation, and one that leaves you with a delicious dinner. 


SPRING RISOTTO
Ingredients:
2 tbsp. olive oil
1 tbsp. unsalted butter
2 cloves garlic, minced
1 large yellow onion
1½ cups arborio, carnaroli, or baldo rice
¾ cups white wine
4 to 5 cups chicken or vegetable stock
2 globe artichokes
1 lb. asparagus
1 cup fresh green or frozen peas
Zest from 1 lemon
Juice from half a lemon
1 lemon, for preparing the artichoke
1 cup Parmesan 
Handful of Italian parsley, chopped

To prepare the artichokes, start by bringing a large pot of salted water to a boil. Using a serrated knife, cut the top 2/3 off of each artichoke and discard. With a paring knife, cut off the green outer leaves until you reach the light areas of the artichoke. Pull off the purple colored leaves and discard. With a small spoon, scoop out the choke being careful not to dig into the heart. Using the same knife or a vegetable peeler, remove all of the green off the stem. Rub the artichokes with lemon juice to prevent browning and place in a small bowl filled with water, with half a lemon in it, until ready to use. Place the artichokes and lemon in boiling water and cook for 7 to 10 minutes, until a paring knife slides easily in and out of the heart. Remove the artichokes and lemon with a spider and place in a bowl of ice water to stop cooking. Discard lemon. Once cool, chop artichokes into large cubes. 

In the same boiling water, blanch the asparagus for 2 to 3 minutes, just until tender. Immediately transfer the asparagus to a bowl of ice water to stop them from cooking. Once cool, chop the asparagus on the bias into 1½-inch pieces. 

Meanwhile, begin the risotto. In a 2-quart pot, bring the stock just to a boil. Turn off heat and cover to keep warm. In a large Dutch oven or other heavy duty pot, heat the olive oil and butter over medium heat. Add the onion and sauté until translucent, about 5 to 7 minutes. Add the garlic, and stir, cooking for 1 minute more. Add the rice and stir to coat with the vegetables, oil, and butter. Pour in the white wine and let simmer until most of the wine has cooked down and been absorbed by the rice. Begin adding the stock two ladles at a time. Allow the liquid to be almost completely absorbed before adding more. Continue adding the stock a ladle at a time, allowing it to absorb, until the rice is done, about 25 to 30 minutes.

When the rice is 10 minutes from being done, add the artichokes, asparagus, peas, lemon zest, 2 tsp. salt and pepper to taste. Stir to combine and continue cooking and adding the stock, stirring almost constantly, until the rice is tender, but firm. Once done, turn off the heat, and stir in the lemon juice, Parmesan cheese, and chopped parsley. Taste to adjust seasonings. Garnish with more cheese and drizzle with olive oil, if desired, and serve immediately. 

Notes:

  • If you're intimidated by the artichokes, watch chef instructor John Riley from the CIA demonstrate how easy it is to prepare them here.

Thursday, May 10, 2012

Roasted Chicken: Brined Two Ways


There are so many ways to prepare a roast chicken, but no matter which method a cook chooses, they all want the same outcome: moist flavorful meat with a beautifully browned crisp skin. I hesitated writing this post, as I'm well aware the world doesn't need another recipe for roasting a chicken on the internet. But I reminded myself that this blog was intended to catalog my recipes, and in the process, share them with you. So I say, to hell with it! Perhaps there's someone out there whose never brined and/or roasted a chicken, and here they'll find two equally delicious methods to choose from, along with the basics for roasting the perfect bird. 


I find myself preparing a chicken for roasting one of two ways: 1)Dry brining it with an herbed-salt mixture 2)Wet brining it in a seasoned liquid brine. These methods require a bit more planning, as the wet brine needs about 8 to 12 hours or overnight, and the dry brine takes 1 to 2 days. I feel each gives wonderful results, and I vary the method depending on how much time I have. When I'm short on time or when I spontaneously feel like roasting a chicken, I will skip the brining process all together and proceed with the recipe I've provided on roasting at the bottom of this post. 


For years I was skeptical of brining. I thought the salt solution would create an overly salty bird and mask its delicate natural flavor. Through experimentation, I've proved myself wrong. I now find that if you have the time, brining takes your bird the extra mile. 


What is a brine? A brine is a salt and water solution, and in the case of chicken, helps to add moisture and flavor to the meat. Aki Kamozawa and H. Alexander Talbot in Ideas in Food, explain the process of brining beautifully, and I will do my best to paraphrase. A brine works through the process of osmosis. While the chicken is soaking in the brine, the salt solution is drawn in through the cell walls of the bird, from an area of higher concentration to an area of lower concentration. In the areas where there are higher concentrations of salt, it will draw enough water into that area until equilibrium has been reached. First, the water will be drawn out of the chicken and into the brine (since the brine has a higher concentration of salt than the meat of the bird). Then, by process of diffusion, the salt and water are drawn back into the chicken. Once the salt is absorbed into the chicken, it begins to breakdown the proteins in the meat. The chicken is then able to absorb more brine and swelling occurs. The broken down or denatured proteins hold the brine in a water-holding matrix, creating a bird that is juicier, flavorful, and more tender.


Science aside, I love a roasted chicken because in my opinion, there are few things more comforting on earth. It can be a simple family meal or an elegant one, depending on your approach. These recipes will lead to a beautifully moist chicken with an almost pastry-like flaky, buttery, crunchy skin. What are you waiting for? This ain't your typical spring chicken.


LEMON ROSEMARY BRINED CHICKEN (WET BRINE)
Slightly adapted from Kristina Johnson's blog, The Former Chef 

1 5-6 lb. chicken 
1 gallon (16 cups) cold water
6 oz. (by weight) kosher salt (about 1 cup)
1 oz. (by weight) brown sugar (light or dark- about 2 tbsp. packed)
3 lemons, halved
2-3 sprigs fresh rosemary
1 bay leaf
1 tsp. black peppercorns, crushed
2 tsp. juniper berries, crushed (optional)
4 cloves garlic, peeled and smashed

In a small saucepan, combine the salt, brown sugar, and 2 cups of the water and heat until the salt and sugar are dissolved. Set aside and allow to cool for about 10 minutes.

Meanwhile, prep the chicken. Remove the neck and giblets (if included) from the main cavity and reserve for another use (or discard). Rinse the chicken thoroughly inside and out with cold water and place in a large pot (about 12 qt. size). Squeeze the halved lemons over the bird and drop them in the pot. Add the smashed garlic, rosemary, and spices. Pour the remaining 14 cups of cold water into the pot, followed by the slightly cooled salt/sugar solution. If the water doesn't completely cover the chicken, add a couple more cups so that it is fully submerged (you can always place a plate on top of the chicken if it begins to float). Cover and refrigerate for 8 to 12 hours. Thoroughly rinse the chicken in cold water to remove the brine. Pat completely dry with paper towels and if you have time, let the chicken sit uncovered in the refrigerator for an hour to dry out the skin. Remove from the fridge and let the chicken come to room temperature before roasting.


LEMON & HERB SALTED CHICKEN (DRY BRINE)

Ingredients:
1 5-6 lb. chicken
1 tsp. kosher salt per pound of chicken
1/4 tsp. freshly ground black pepper
1/2 tsp. fresh rosemary, minced
1/2 tsp. fresh thyme, minced
1/2 tsp. fresh sage, minced
1 clove garlic, peeled and minced
1 tsp. grated lemon zest

In a small bowl, add the salt, herbs, garlic, and lemon zest. Mix well to combine. Rub the salt and herb mixture into the chicken, seeing that it is evenly coated. Place the chicken in a roasting pan or on a large dish and cover with plastic wrap. Allow it to sit in the refrigerator for 1 to 3 days before roasting. 

Remove the chicken from the fridge and thoroughly rinse it in cold water to remove the brine. Pat completely dry with paper towels and if you have time, let the chicken sit uncovered in the refrigerator for an hour to dry out the skin. Remove from the fridge and let the chicken come to room temperature before roasting.


ROASTED CHICKEN 
(Whether brining or not, this is my standard recipe for roast chicken)

Ingredients:
1 5-6 lb. chicken, brought to room temperature
6 to 8 tbsp. unsalted butter, room temperature (you can also use an herb butter- see recipe below)
1 lemon, quartered
1 head garlic, halved
A handful of mixed herbs (such as rosemary, thyme, and sage)- for stuffing the bird and extra for seasoning the vegetables (if using)
Salt and freshly ground pepper
Copped vegetables (optional)- I like to use 2-3 carrots, 2-3 parsnips, and a handful of small potatoes
1 cup chicken stock or water
Butcher's twine for trussing

If using an herb butter:
6 to 8 tbsp. unsalted butter, room temperature
1/2 tsp. fresh rosemary leaves, minced
1/2 tsp. fresh thyme leaves, minced
1/2 tsp. fresh sage leaves, minced

Allow your chicken to come to room temperature (takes about 1 to 1½ hours). Position oven rack in the center of the oven and place your roasting pan in the oven. Pre-heat oven to 425 degrees F. 

Using a small knife, remove the wishbone (located between the breast and neck) from the chicken by scraping around the bone with a small knife, and pulling it out using your fingers (this will allow you to carve with ease later on).  
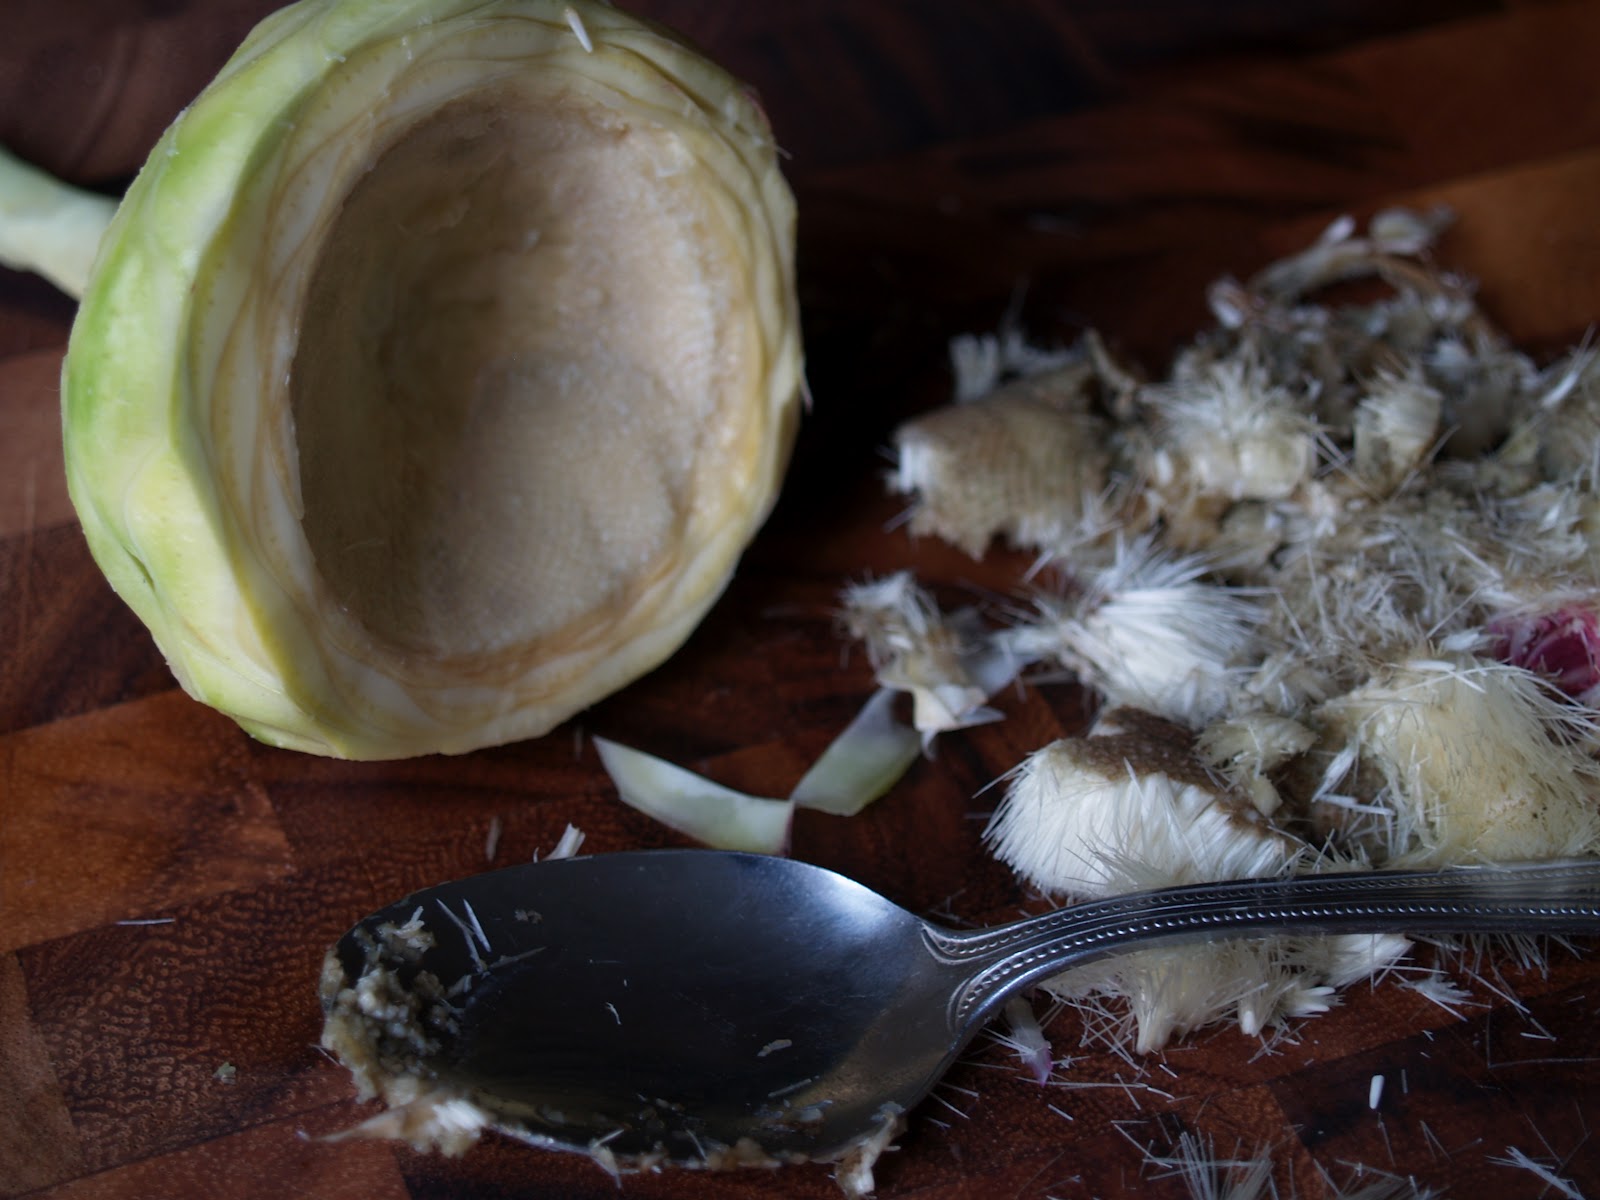
Salt and pepper inside the neck and main cavities. Place the halved garlic and quartered lemon in the main cavity, along with a handful of fresh herbs (such as rosemary, thyme, or sage or a combination of all three). Fold the wing tips under the bird.

Using your fingers, slowly nudge the membrane between the skin and breast to make room for the butter (be careful not to tear the skin). Using your hands, evenly rub 3 or 4 tbsp. of the softened butter under the skin. Truss the chicken or simply tie the legs together (see notes below). Place the chicken on a v-rack and rub the remaining butter over the entire outer skin of the chicken. Salt and pepper the bird.  

Remove the preheated roasting pan from the oven and position the v-rack holding the chicken in the pan. If using chopped vegetables, scatter them around the rack and include some herbs if desired, (no need to chop the herbs, just toss them in). Pour 1 cup chicken stock or water into the bottom of the pan. 

Position the chicken with the breast-side facing the oven door (legs facing the back of the oven) and roast for about 1 ½ to 1¾ hours (add more stock or water to the pan if it becomes too dry, and tent the chicken loosely with foil if browning too quickly). Continue to roast until a thermometer inserted into the thickest part of the thigh or breast (being careful not to hit bone) reads 165 to 170 degrees F (it’s a good idea to check both thighs, as they can vary in temp), or when the juices between the leg and the breast run clear, and the legs wiggle in their sockets. Start checking the temperature about 15 to 20 minutes prior to when you think it should be done. Once done, transfer the chicken to a cutting board and tent very loosely with foil. Let rest 10 to 20 minutes before carving. I like to remove the entire breast in one piece and cut it against the grain into large pieces.  

Notes:
  • I've found over the years that one of the most important steps in roasting a chicken is allowing it to come to room temperature before cooking. I cannot stress the importance of this enough. If you place a cold chicken in a hot oven, it will decrease the oven's temperature and potentially lead to an unevenly cooked bird or result in a longer cooking time. Additionally, this step will dry out the skin and help create an incredibly crisp skin after roasting. 
  • There are many ways to truss a chicken, but the simplest way is to tie the legs together using butcher's twine. If you want to get fancy, you can watch chef Thomas Keller demonstrate how to truss a chicken in this video.
  • If you don't have a v-rack or a roasting pan, simply place your chicken in a large ovenproof pan, such as a cast iron skillet, and roast as directed. If using vegetables, place them directly in the pan and position the chicken on top of them.
  • I do not baste my bird, I find it unnecessary. Besides constantly opening the oven door to baste, lets out far too much heat, and lowers the overall oven temperature.
  • Another method for roasting a chicken is to cook it on its side for 20 minutes (leg facing the top of the oven), flip it and roast it on its other side for 20 minutes, and finish it breast-side up for the final 30 minutes, or until finished cooking. If using this method, work quickly, as you don't want to let out too much heat from the oven.